Introduction:
Ensuring reliable electrical connections in marine environments is crucial. For the safety and efficiency of onboard systems. Among the key components are battery cable lugs and ring terminal connectors. Properly crimping or soldering these connectors is essential for maintaining strong, durable connections. That resists corrosion and performs optimally. In this blog, we’ll delve into the techniques and best practices for crimping and soldering. Marine battery cable lugs and ring terminal connectors.
Understanding Marine Battery Cable Lugs and Ring Terminal Connectors:
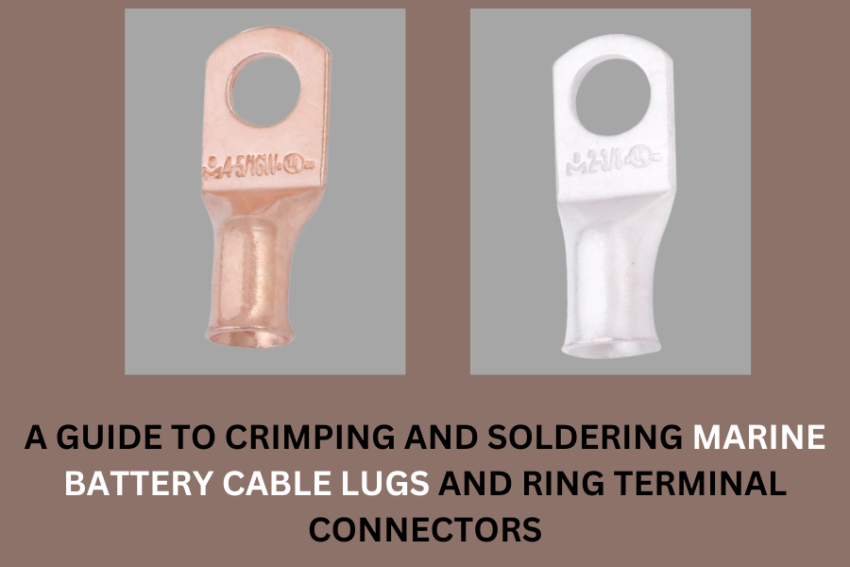
Marine battery cable lugs and connectors are designed to securely connect cables to batteries. Terminals, or other electrical components. They come in various sizes and materials, typically made from corrosion-resistant metals. Like tinned copper or Bare copper. Choosing the right size and material for your application is crucial. To ensure proper conductivity and longevity in harsh marine environments. Another factor is the technique utilized on the project which we will delve deeper into. The method of soldering and crimping for marine battery cable lugs and ring terminal connectors is such.
Crimping Techniques:
1. Preparation:
A. Selecting the Right Tools: Invest in a high-quality crimping tool. Specifically designed for marine applications. Look for tools with multiple die sets to accommodate various lug and terminal sizes.
B. Proper Cable Stripping: Use a cable stripping tool to remove the appropriate length of insulation from the cable end. Be careful not to nick or damage the conductor during this process.
C. Cleaning Surfaces: Before crimping, ensure both the conductor and the inside surface of the terminal or lug are clean. And free from corrosion or debris. A wire brush or emery cloth can be used for this purpose.
2. Crimping Process:
A. Proper Alignment: Insert the stripped cable end into the terminal or lug, making sure it’s seated securely and fully inserted. Misalignment can lead to weak or faulty connections.
B. Applying Pressure: Position the crimping tool over the terminal barrel or lug. And apply steady pressure to compress it onto the conductor. The crimping tool should exert uniform pressure across the entire circumference of the terminal. To ensure a tight and secure connection.
C. Quality Control: After crimping, visually inspect the connection to ensure there are no gaps. Specifically between the conductor and the terminal. Any gaps or irregularities may indicate a faulty crimp.
D. Tug Test: Perform a tug test by gently pulling on the cable to ensure it doesn’t detach from the terminal. A properly crimped connection should withstand moderate tension without coming loose.
Soldering Techniques:
1. Preparation:
A. Flux Application: Apply flux to both the stripped cable end and the inside surface of the terminal or lug. Flux helps remove oxidation and improves solder flow, ensuring a strong and reliable bond.
B. Choosing the Right Solder: Opt for marine-grade solder with a high tin content for superior corrosion resistance. Lead-free solder is also recommended for environmental safety.
C. Heat Control: Use a soldering iron with adjustable temperature settings to prevent overheating the joint. Excessive heat can damage the conductor or terminal and compromise the integrity of the connection.
2. Soldering Process:
A. Even Heat Distribution: Heat the terminal or lug evenly with the soldering iron to ensure uniform solder flow. Avoid concentrating heat in one area, as it may cause thermal damage.
B. Solder Application: Apply solder to the joint, allowing it to melt and flow evenly around the conductor and terminal. The solder should form a smooth and uniform bond without any gaps or voids.
C. Cooling Period: Allow the solder joint to cool completely before handling or applying tension to the cable. Rapid cooling may cause thermal shock and weaken the connection.
D. Quality Inspection: After soldering, visually inspect the joint to ensure it’s properly formed and free from defects. Any excess solder or solder bridges should be removed to prevent short circuits or other issues.
By mastering these techniques and following best practices. You can ensure strong, durable connections. That withstands the harsh marine environment and provides reliable electrical performance. For your vessel’s systems. Whether you choose crimping or soldering, attention to detail and precision are essential. To achieve safe and effective results.
Conclusion:
Properly crimping or soldering ring terminal connectors is essential. For maintaining reliable electrical connections onboard. By following the techniques and best practices outlined in this guide. you can ensure strong, durable connections that resist corrosion and perform. Optimally in the demanding marine environment. Whether you choose crimping or soldering, meticulous attention to detail. Adherence to recommended procedures is key to achieving safe and effective results.

